Showing posts with label DIY. Show all posts

Tuesday, July 9, 2013

Productive Day

Today I have been having one of those rare "get on that already" spurts. I put together this terrarium in container I found at Chic Antiques.


I taped over the black electrical tape on pur wedding sign. It was needed to blend in for our ceremony but stuck out terribly on our creamy walls. White blends in much better.


I bought this oval mirror at an estate sale probably over a year ago. I loved the oval shape (seriously, I'm an oval addict. Help!) and the gold detailing, but it was in bad shape. The gold part was practically detached from the main frame. It had dust in all of its crevices. And the mirror was in serious damage of detaching itself and thus shattering all over the place. Rough shape I tell ya! I cleaned her up, reattached the gold detailing, shoved so,e tough little glass holders into place while only slightly butchering my pointer finger in the process. And cherry on top of it all: I hung the pretty little thang up to show her off!


Our map fell off the wall, command strips used to be so reliable but not of late. So his new home is resting on top of our bookcase. Which I cleared off the top off and arranged some details on it. 


I also moved around my gallery wall a bit. But can't get one frame back together... How is that possible? The backing just won't go back in and I got frustrated so it is currently sitting on the table awaiting Vince's handiness to fix it. So I'm off to do dishes and vacuum. Who wants to come organize my closets? They need a come to Jesus moment--STAT!

Gotta love random Tuesdays off of work! 

Monday, July 9, 2012

Indecision

Lately I have gone back and forth and back and forth again on how I want to decorate our wedding. Our package at our reception hall includes basic, non-floral centerpieces. I'm all for candle light but originally thought I needed flowers. I also thought I needed floor length linens. I'm not over them completely, but they won't make me happier that day so I don't need them.

The bigger issue is all the inspiration online is RECTANGULAR tables not ROUND tables. Well at least the pretty modern blogerific tablescapes. Martha has some pretty ones. Mainly I want our reception to be unique and I'm a bit regretful disappointed in doing a regular ol' banquet hall and not some unique venue. HELP.

Our ceremony is unique. A theater. Also difficult to conceptualize decorations.

Also wishing my mom was here to go to JoAnn's and Hobby Lobby with to play around with ideas....

I'm indecisive about decor and I don't like it.

I did decide to enter project phase beginning with painting my Ikea frames aka table numbers as well as a dumpster-dived mirror that will be our seating chart. I just asked Vince if I should steer towards charcoal grey instead of mustard as planned. More indecision...perhaps tomorrow I'll feel more sure.

Thursday, May 3, 2012

DIY Wedding...

I want our wedding to be unique. I want it to be elegant with a hand-touched feel. I want to DIY at least something for our wedding.

I'm thinking of doing my own table overlays to put on top of grey tablecloths. Check out Mother Martha's  goregous examples:

photo courtesy of marthastewartweddings.com
I also found this image on Pinterest that after some searching seems to come from the Etsy shop FantasyVintageBridal. 
pinterest picture on WeddingBee forum but apparently custom order from  FantasyVintageBridal on Etsy.

another from FantasyVintageBridal
I will also be tackling my own flowers. Luckily this means bouquets and boutonnieres and limited centerpiece items since Laurel Manor supplies beautiful flower-less centerpieces. 

I'll probably also tackle a project for each of our bridal party members but I'm not going to mention it here yet as maybe two of them regularly check out my blog and I don't want to ruin the surprise :)

I think I'll limit it to that. Well the big one I guess is my sister is making my dress! But that's primarily here (thank you sister!!)

Tuesday, December 20, 2011

Home is Where the Heart is

Update: I just linked this project up to "Tute"-inTueday over on Oops I Craft My Pants! Stop over there and have a looksie at all of Ericka's awesomeness as well as the other projects that get linked up today!

Once again I have been inspired by Pinterest. Having been enamoured by images like this
and this
I knew that I wanted a little something on my walls to remind me of my roots. I decided to go ahead and go for the more complex version (string art!) as I wanted to try something new and I remembered a cross project I did in bible school ages ago that still hangs at my parents house and that additional memory prompted this project.
So I got started:
1) I purchased a wooden plaque from Michaels and some white acrylic paint and put just one quick coat on as it covered pretty nicely. I also wanted to have the brush marks in the paint so I made sure to paint in just a left to right motion.

2) Vince so kindly printed out an image of the Great State of Iowa for me weeks ago, I simply taped it down to the painted plaque and started putting in my nails (from a frame hanging kit at Dollar Tree, 109 nails for $1 baby!) I tried to equally space them about a half inch apart from one another but this was by no means precise.

3) Close up of the nails. I didn't follow the border exactly except the wonderful straight lines on the northern and southern borders of the state. East and west were wiggly and curvy and I just did the best that I could to make it still look like Iowa.

4) I also added a little "heart" shape near where Oskaloosa is on the map. Again, not precise. Eyeballing at best. I then started stringing my yarn back and forth between the heart nails and the border nails. I tried to keep things as even as possible but really I just randomly covered the space.

5) Close to finished, I still filled in a lot of the little gaps that you see here.

In case you are interested this is the thread that I used :)

Vince made a suggestion of adding some color to the heart to make it stand out more. I thought that was great idea so I just wound some dark red thread around the nails on the heart.

What do you think? Someday when I actually put up my gallery wall this will be one of the pieces on it! And in case you try this out for yourself, try to make sure all of your nails are the same length, this makes it easy when you are hammering your little fingers off trying to get them all the same length once in the plaque.

Wednesday, November 2, 2011

Fall Pinterest Challenge: Doily Lampshade

One of my favorite home improvement/general awesomeness blogs, Young House Love who is also an avid Pinterestista (can I make that up??) posted a challenge. And if you know me, you know may also know that I am all about competition. Even though my opponent is really just myself and whether or not I would get around to posting on my blog :) Here are the projects that the other ladies hosting the project completed for the challenge: Sherry's, Katie's, Ana's, Erin's. You can also check out the YHL (Sherry's) post that has links to HUNDREDS of other Pinterest Challenge projects that other readers have posted.

Anyway, I took on the challenge, at the very last moment if you did not notice (hey, I did start a new job YESTERDAY!) but alas, here is my take on this beautiful doily lampshade project I saw months ago and to be honest started in probably June.

I started by collecting doilies. Then I used tea and coffee to dye them thanks to Vince's extremely talented sister-in-law, Michelle, who gave me some great tips on getting the right color.


The process is pretty easy, and can be corrected easily by rinsing or adding more coffee/tea to the mixture. Basically choose a container, I used our stainless steel kitchen sink, then placed tea bags into the empty container. Boil enough water to cover the items you are staining and pour it over the tea bags kind of rotating between them. You'll decide how many bags to use based on how dark you want your items to be post-dye-bath. I also added some leftover coffee I had brewed that morning. Next you put the items, doilies or otherwise, into the bath and let it set for a while...not sure how long I left them I just walked away and came back later. I drained the bath, and wrung out the doilies and set them outside to dry.

Then, after months of sitting in my "to-be-crafted-someday...maybe" pile, I finally got motivated to complete the lamp shade for two reasons: 1) I was sick of looking out the naked bulb in my dining room/office 2) I got a job offer and knew my craft time would be lessened soon.

The first step was moving the hanging light over slightly so that Vince no longer had to duck to go past it and so that it was more over the table that is now used as a desk and craft space. This was easily done using a plastic staple, I even did it all by myself. I just eyeballed it and used some of my excellent lucky balancing skills to hammer it into place and ta-da! Here is it:

Next I got to work on the actual lamp shade:

1) Find something to hang your balloon from. I used I punching balloon from the dollar tree because I'm cheap and you can get 3/$1 there. I used some string to hang it from a screw on our light fixture in the bathroom so that any spilled wallpaper paste would be easy to wash up.
2) Mix up (or don't if you bought pre-mixed) wall paper glue. This part reminded me of the paste in pre-school. Smelled like it and had the same texture..sweet memories.
3) For each doily that I added I just stuck it into the glue, squeezed it around, then pulled my hands down it taking off the excess.
4) Start adding them around your balloon. I left a little bit of space at the top but not too much as I knew that I would be pulling a couple apart and sewing it up later on.


5) You're probably going to need some help during this part as your hands will be covered in wall paper glue and every time you try to add a doily your balloon will try to run away. Just have help. Even if that help has to stand in your shower. You won't regret it, but Vince may regret taking this self portrait.
6) Make sure you overlap a little bit or else this whole project won't work! :)
7) Once you have finished applying all of the doilies, you just have to wait. 4 days..my glue dried slooooww, and then I wanted to make sure it was good and dry.
8) Finally it was time to pop the balloon. This was disappointing and entertaining as there was no bang as the latex stuck to the glue and I had to peel it off by hand.


9) I went ahead and pulled apart some of the overlapping doilies at the top so my hand and arm could reach inside to pull the balloon off the shade. As I went the sides of the lampshade lost there shape but only temporarily as I could push them back out without permanent damage.
10) Since my light was now higher I couldn't sew up my raw edges as I had planned but found a couple of gold buttons that fit through the holes of the top doilies and sewed them on to secure it to the light fixture. I should also note that I left the glass shade on the existing light fixture to serve as the top of the shade and give it something to hold on to.
11) The doily shad in place and button-secured. I do need to work on this, it's kind of not round but for now it works.

Here's our new dining room/office light in all it's shining glory:


Gorgeous right? I love that it dims the light and adds such a unique look to the space. It's a little messy of a project, and it takes time to collect the supplies but for roughly 10 bucks it's a fun and pretty project to take on!

Wednesday, October 19, 2011

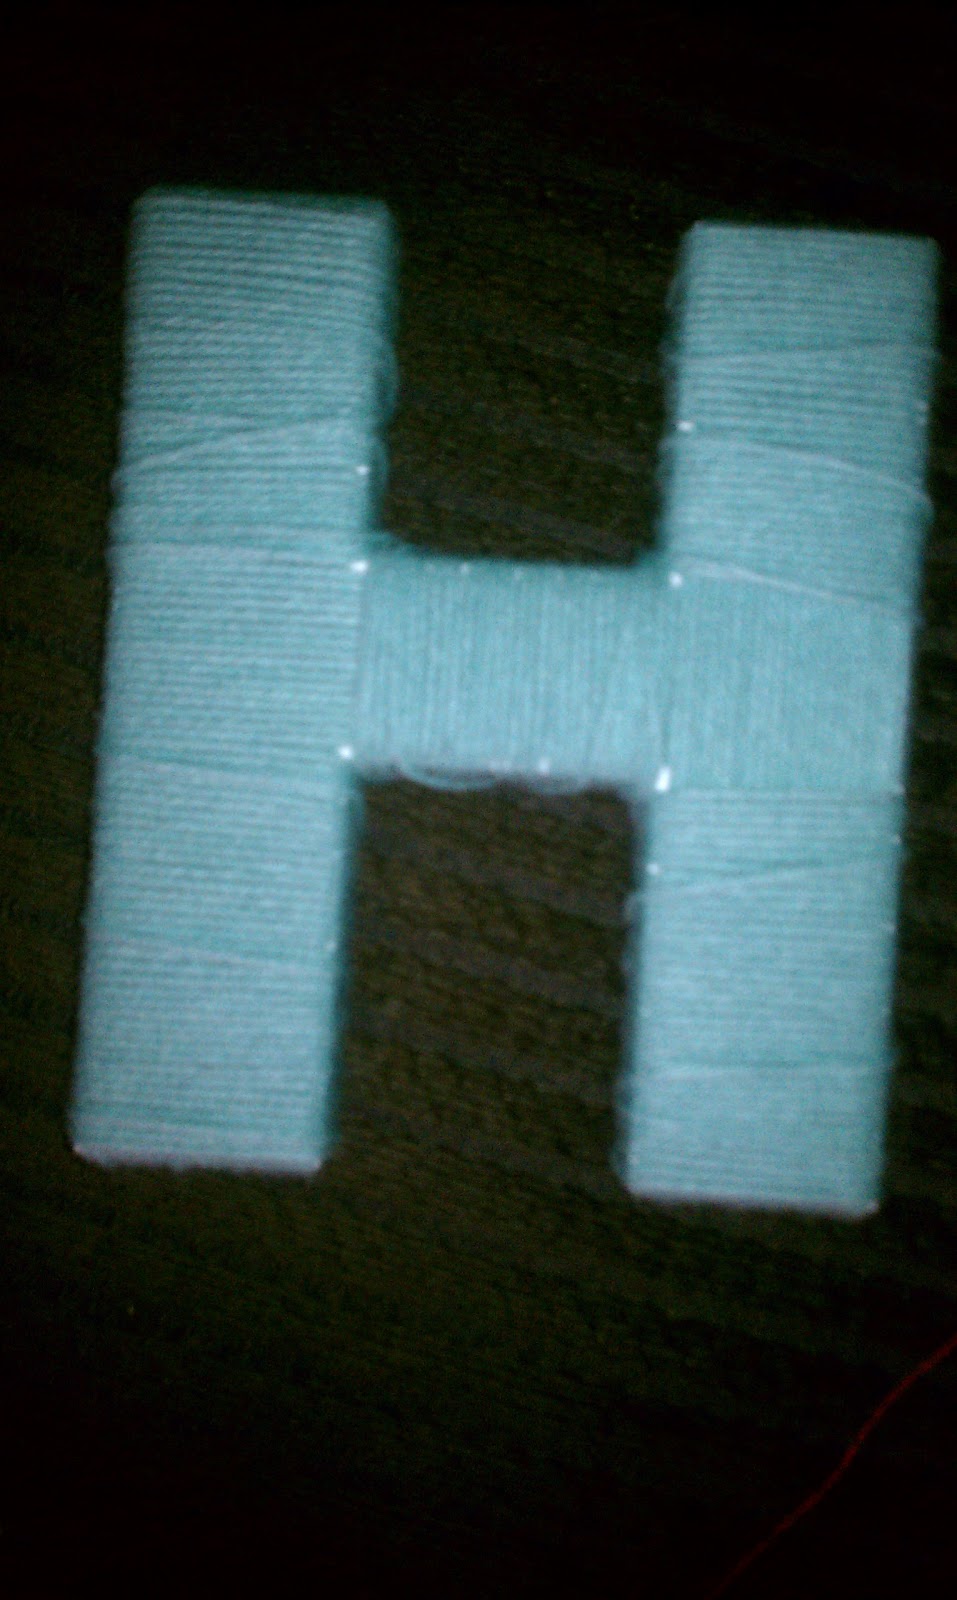
Pinterest Project: Yarn Covered Alphabet Soup

I've seen all kinds of creative letters on pinterest since joining the site a couple of months ago. Also a couple of months ago I found two white wooden letters at Michaels on clearance for a buck. An "H" and a "T" I wanted to find a "V" but no luck. That's what happens with clearance aisles.

Well the letters have sat there, waiting for me to make them beautiful. And finally I decided to go the yarn-wrapped route. I used yarn I already had at home that I also thought would look nice in my dining/office space. And it ended up looking like this.


Wrapping an "H" in yarn is hard work folks. My friend Rachel informed me it was challenging, and although it didn't take me the 8 hours it took her, I did watch a good portion of the Green Zone, a war flick that was quite enticing in both plot and man eye candy.

Anyway it wasn't perfect and I knew I wanted it to look a little fancier than that so I thought about the 40 flowers I made in this post and remembered the grey fabric I had leftover from my yellow and grey cork board project as well as a scrap of coral V's mom gave us when we got our sewing machine. These grey and coral flowers would be perfect!

So I stitched some up. I crafted this new beauty by folding a strip on the grey fabric in half and sewing then cinching it into the prettiest little flower. It's my new fabric flower love! With pretty little finished edges, doesn't it look gorgeous?

I made a five other assorted flowers and for this little grey pretty and it's twin made in coral I stitched a little hex nut into the center of the flowers as I liked that look better than the colored buttons I had in my craft bin.  Then stitched them onto the "H" for the perfect little item for my shelf.
Sitting pretty on top of a couple of books! 
Now what to do with the "T"? V wants it covered with comic book images, perhaps I'll appease him and modge podge something up, after all it is for his namesake not mine!

Wednesday, October 12, 2011

DIY Wedding Rehearsal Bouquet

My best friend from college is getting married this weekend!! As her Maid of Honor I have many important duties, many of which I haven't been able to fulfill as I would have liked as she lives in Iowa and I live in Michigan which makes regular meetings and helping with centerpieces and going to dress fittings difficult. One task that I have been able to do well (in my very humble opinion) is make her rehearsal bouquet. I searched and searched the internet for ideas for making this bouquet and having it not look like something made when I was 9 years old. No offense to other MOH's out there participating in this tradition, I understand the true form of the tradition states that the bouquet is made during the bridal shower, not after, thus greatly limiting the amount of time being spent putting the bouquet together. And time, lots of time, is needed to make this bouquet.

Being a huge Pinterest addict I've seen headbands and belts and hairclips made with flowers created from ribbon and many yards of ribbon were exactly what I had to work with. Ribbon and a couple of curly boys and some poly-ribbon. I wanted the main focus to be flowers from the Bed Bath & Beyond purple ribbon and the curly bows to be accents. Here's what I came up with!


Not too shabby huh? Here's some detail pictures for you: 

I found tutorials the following tutorials: Martha Stewart, Burda Style, and Wedding Bee. Truth be told as I progressed in each of these methods I figured out my own way to make the flowers and I encourage you to play with them as well as figuring out how to hold on to all the ribbon before sewing together is sometimes better down in your own words.

After making 40-some flowers I started with the rose flowers based on the Burda Style template that had extra ribbon on below the flower to start sewing the loose flowers together. I just pieced them together to my liking and after about 15 realized it was an odd shape--oops! I did my best to pull and push flowers and sew them in place, alternating the style of flowers. Here's a close up of the bouquet being sewn together:
Then after I got about half-way through with my loose flowers I concocted a handle out of a couple of dead ink pens and wrapped them in none other than painters tape. I wish I would have reinforced the tape with hot glue, but hindsight is always 20/20. I wrapped the loose ribbons around this base and pinned them in with quilting pins and kept sewing on my flowers.

At this point I realized my stem was too short...so I added on another stem, this time the handle from an old foam paint brush. Again I used tape but should have hot glued it to make it more sturdy. I had saved one purple ribbon from making flowers so that I could wrap the stem and I did so, hot gluing it in place until I had formed my desired handle.

Next I had to add in the curly ribbons and the poly-ribbon. I glued on the two curly ribbon bunches right at the base of the ribbon flowers and allowed them to kind of cascade down. I then took the loose poly-ribbons and wound them around the base and hot glued them down to and I was finished!

This took me a good 8 hrs to do in one sitting, so I'd highly encourage you to have a couple of flower sewers as that was the longest part of the process. But it was nice to watch a couple of movies and talk to my little sister who just moved to L.A. while working on it. I'm also proud that it looks a little classier than the norm--just Keli's style! Here's one more shot of my finished project!


Friday, October 7, 2011

Frame and Mirror Revamp for Entry Way

My love of Pinterest and home improvement blogs finally resulted in a pretty fabulous project for the apartment. I'm in love with my beauties and luckily V likes them too! I thought I'd share my DIY process with you as well so here goes! 


Here they are before being restored to all their glory! The white framed mirror we bought for $4 at a garage sale and the oval frame we bought for $3 at Salvation Army.


The frame originally contained this beauty and the most jagged-edged glass covering I've ever seen. The glass was later broken in half on accident--good thing I already had other plans in mind!


So the first thing I did was pull out the primer and gave both frames a good covering. The oval frame obviously needed more attention due to it's dark color. Next I pulled out the BRIGHT yellow spray paint and coated them each 3 times to fully cover. 


My thoughts? "CRAP! I've ruined them, this is WAY to bright for my entry way!" But at the same time I absolutely loved the color as it's my fave! So I moved forward and did this:


I wanted the oval frame to be a cork board, so I transformed two square shaped tiles of cork into this lovely round shape. In all actuality V did most of the work of this step of cutting, he's much handier with the XACTO knife! Next I hot glued them in place to the backing aka the original artwork from the frame!


Next I covered it with charcoal gray remnant fabric I got a JoAnn's for a whopping two bucks and hot glued that in place as well. I *should* have ironed it better before doing this process but I was anxious and my counseling background says move forward not dwell in the past so moving on!


Popped the covered cork board into the frame and I was in love with the results can't you tell? (I look a bit crazed...woops!) Well the mirror was done and another trip to Salvation Army resulted in a smaller oval mirror that was another $3 that I didn't take pictures of the painting process but this is the result!


Tada! I love it! These are in my entry way  so it works well to provide a place for event reminders and other odds and ends. The mirrors also add to the depth of the room since it's a rather small space and right off of our living room. 

So what do you think? Either way I love them!